How to Create Animated Titles and Captions Using Descript
How to Create Animated Titles and Captions Using Descript
If you're looking to create engaging videos with animated titles and captions, you've come to the right place. In this guide, we will walk through the process of using a powerful tool called Descript to add captivating animated captions and titles to your videos. This method is perfect for enhancing the quality of your content and making it more appealing for social media platforms.
Getting Started with Descript
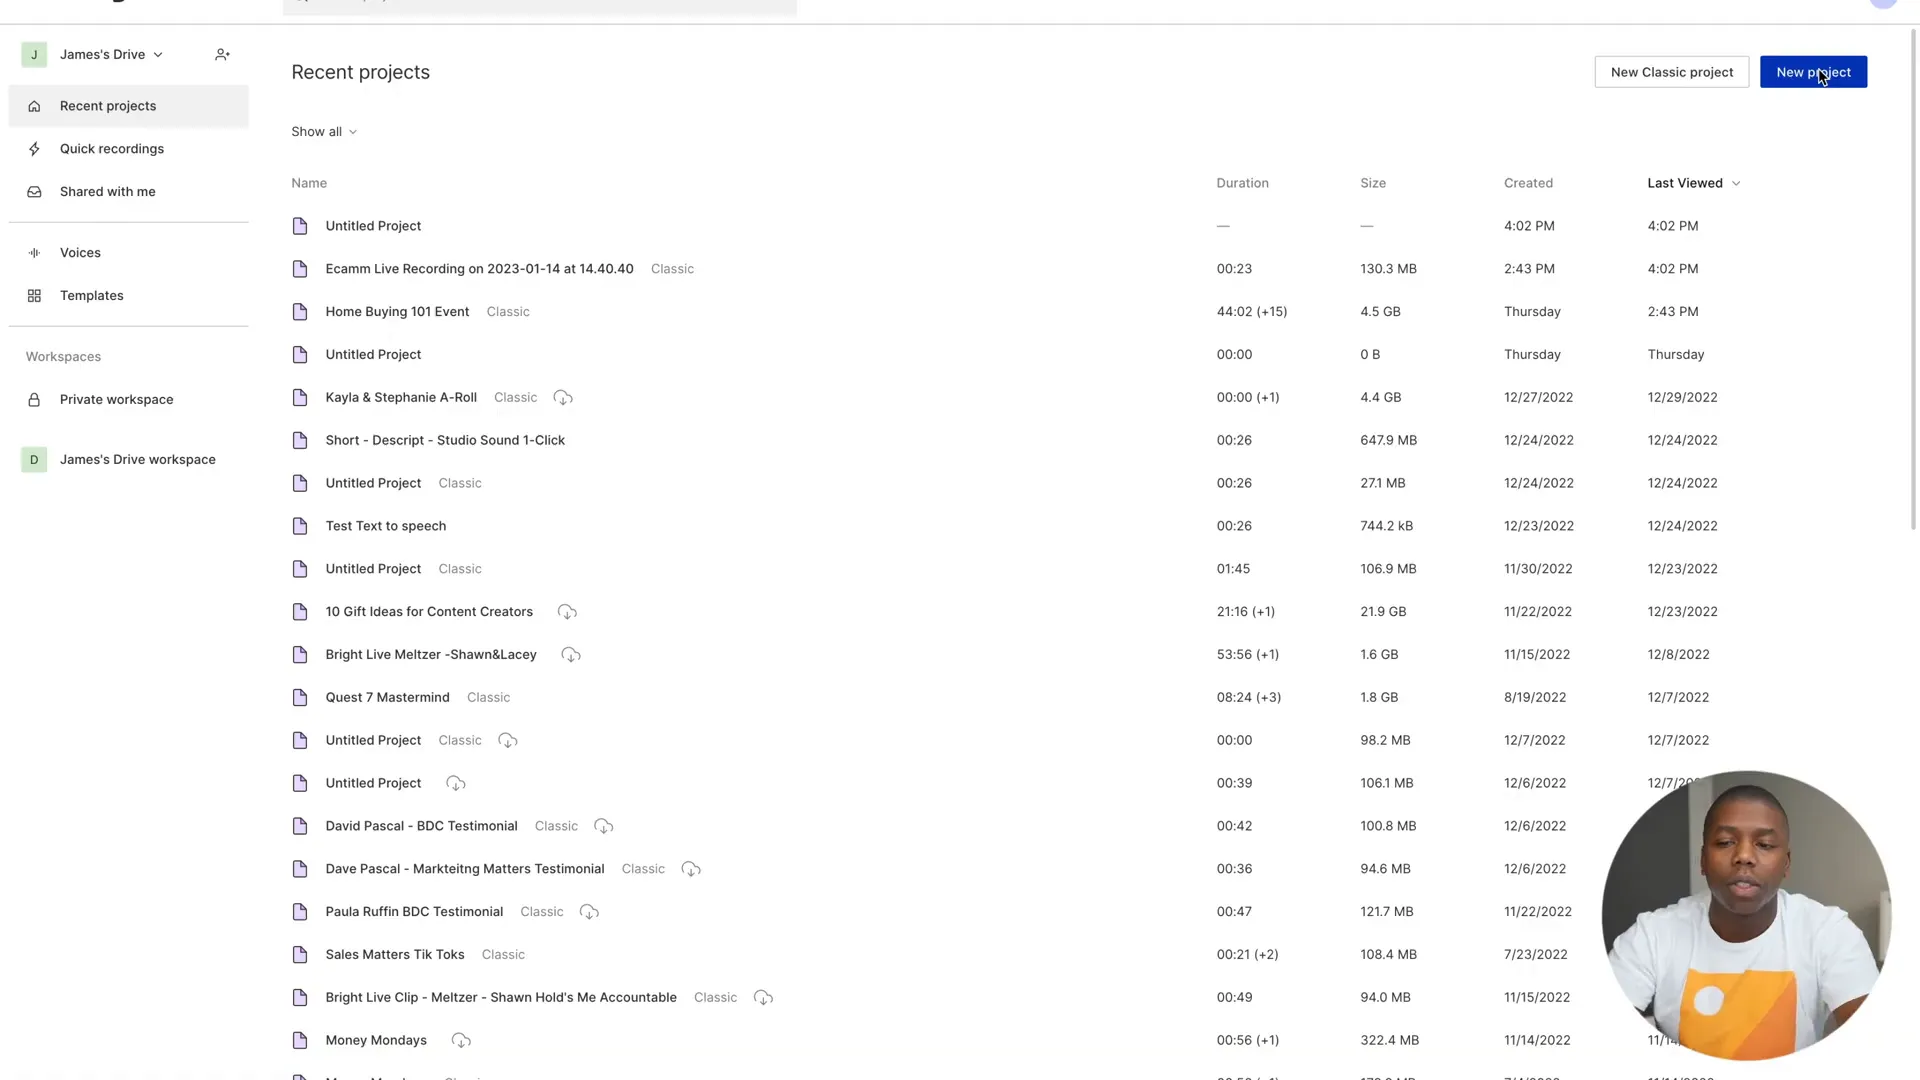
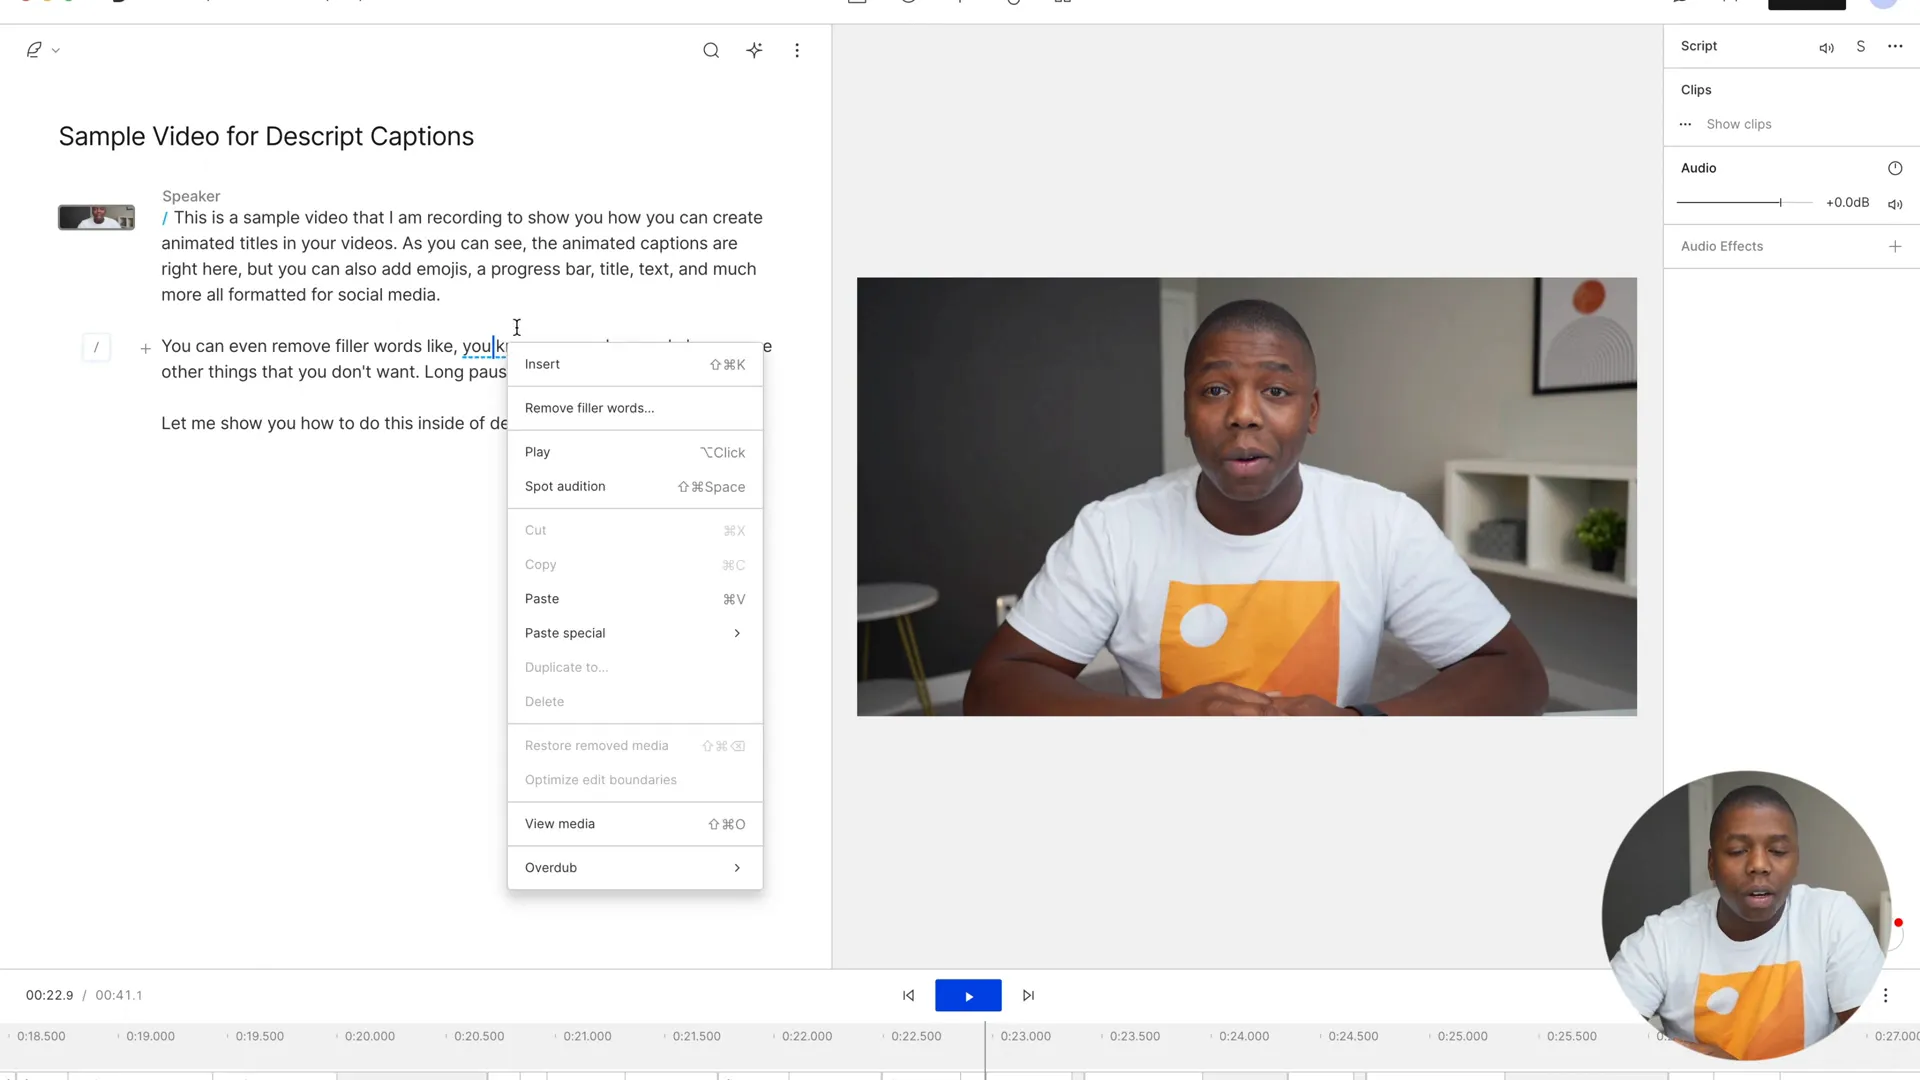
First, you have to download and install Descript. After it’s installed, open the app and create a new project. This new project starts with importing your video, which you can do by clicking and dragging your video file into the interface. Descript will then begin transcribing the video, turning your spoken words into text that you can edit.
Editing Your Video Using Transcriptions
One distinctive feature of Descript is text-based editing from a transcript. The audio from your video gets transcribed in real time, and you can edit it as if you were in Word, deleting specific sections by clicking in the text representing them.
For example, if the recording contains a mistake, simply mark that part of the text and delete it, which will automatically cut out that bit of the video, making your editing much simpler.
Removing Filler Words
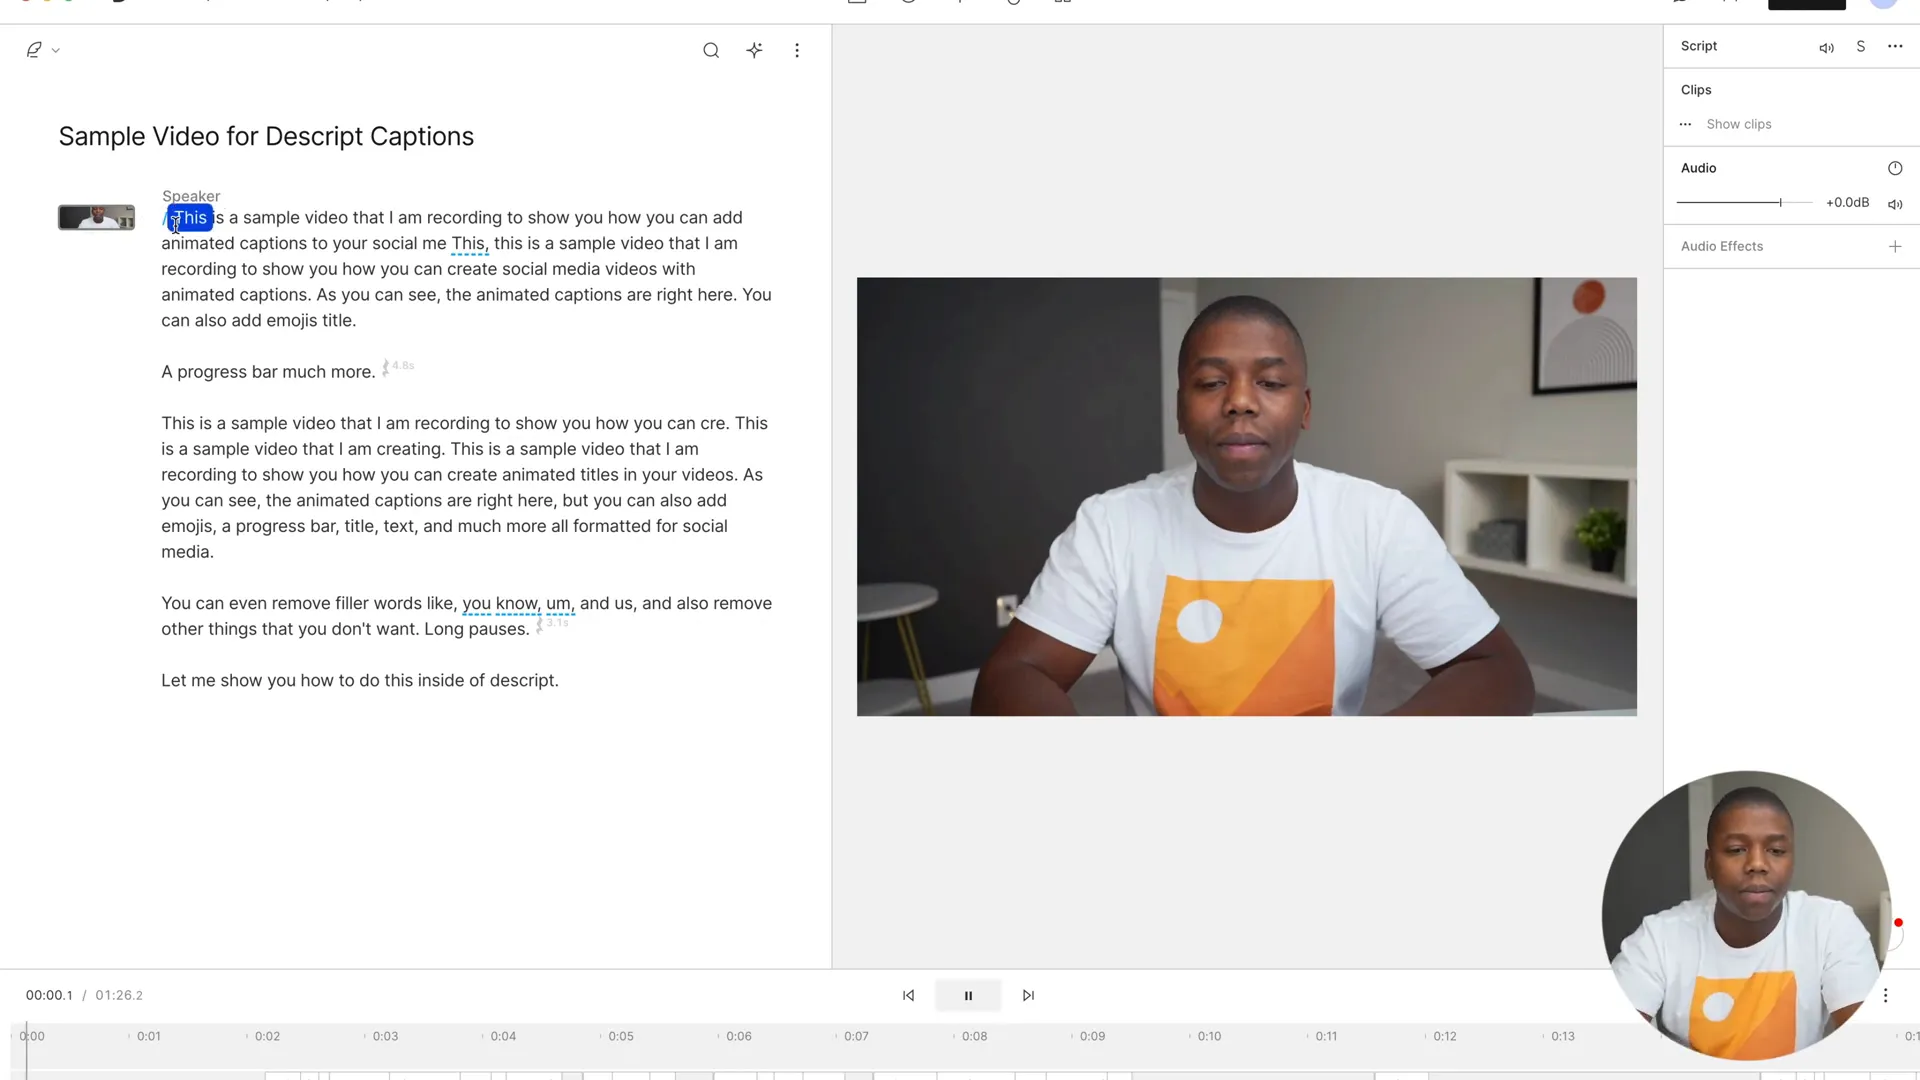
Filler words such as ‘um’, ‘you know’ and ‘like’ detract from the polish of your video. Descript has a handy trim-junk feature that spares you from manually erasing them. Right-click on an underlined filler word in your transcript to select ‘remove all’. This simple but valuable feature cleans up your video and makes it flow better.
Creating Vertical Video Format
With vertical video formats a necessity for social media content (such as Instagram Reels and TikTok), Descript users can simply go to the video settings, click on ‘portrait’, and transform their horizontal video into a vertical aspect ratio of 9:16.
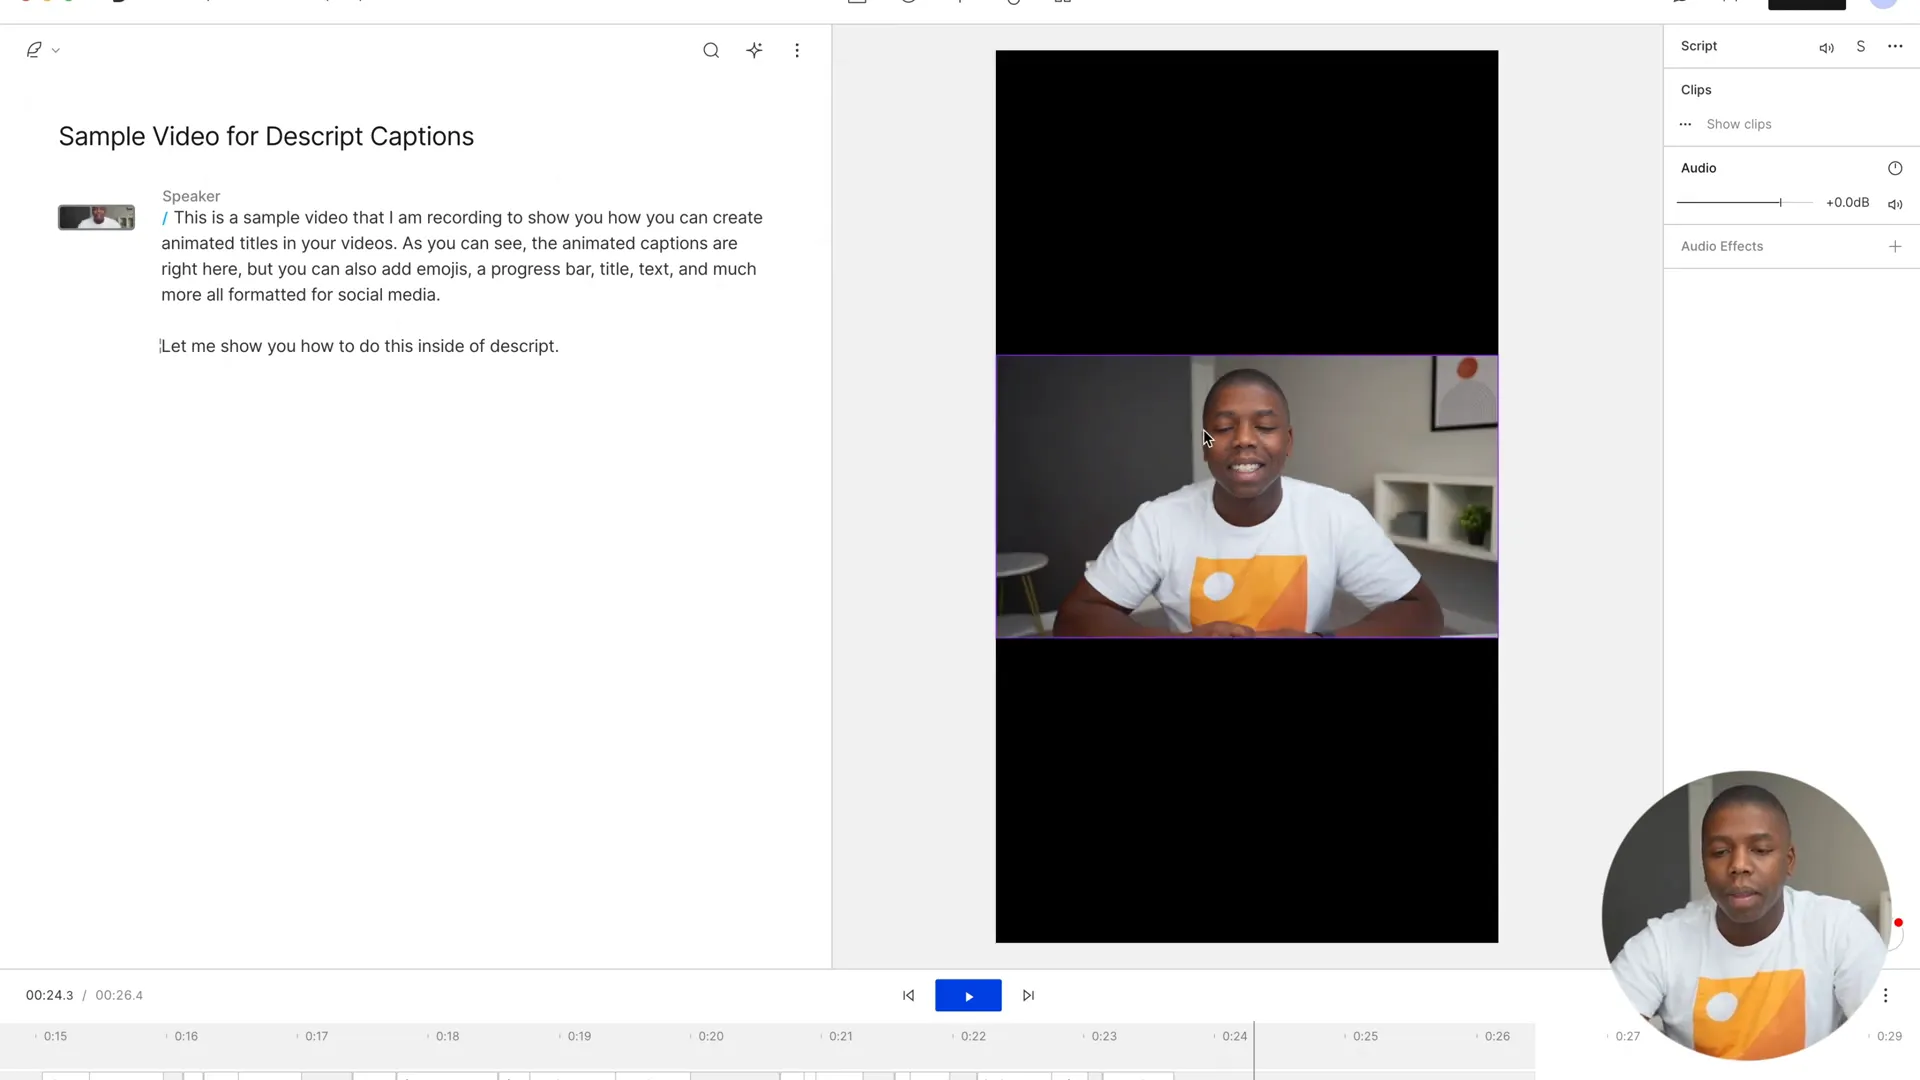
Adding Captions
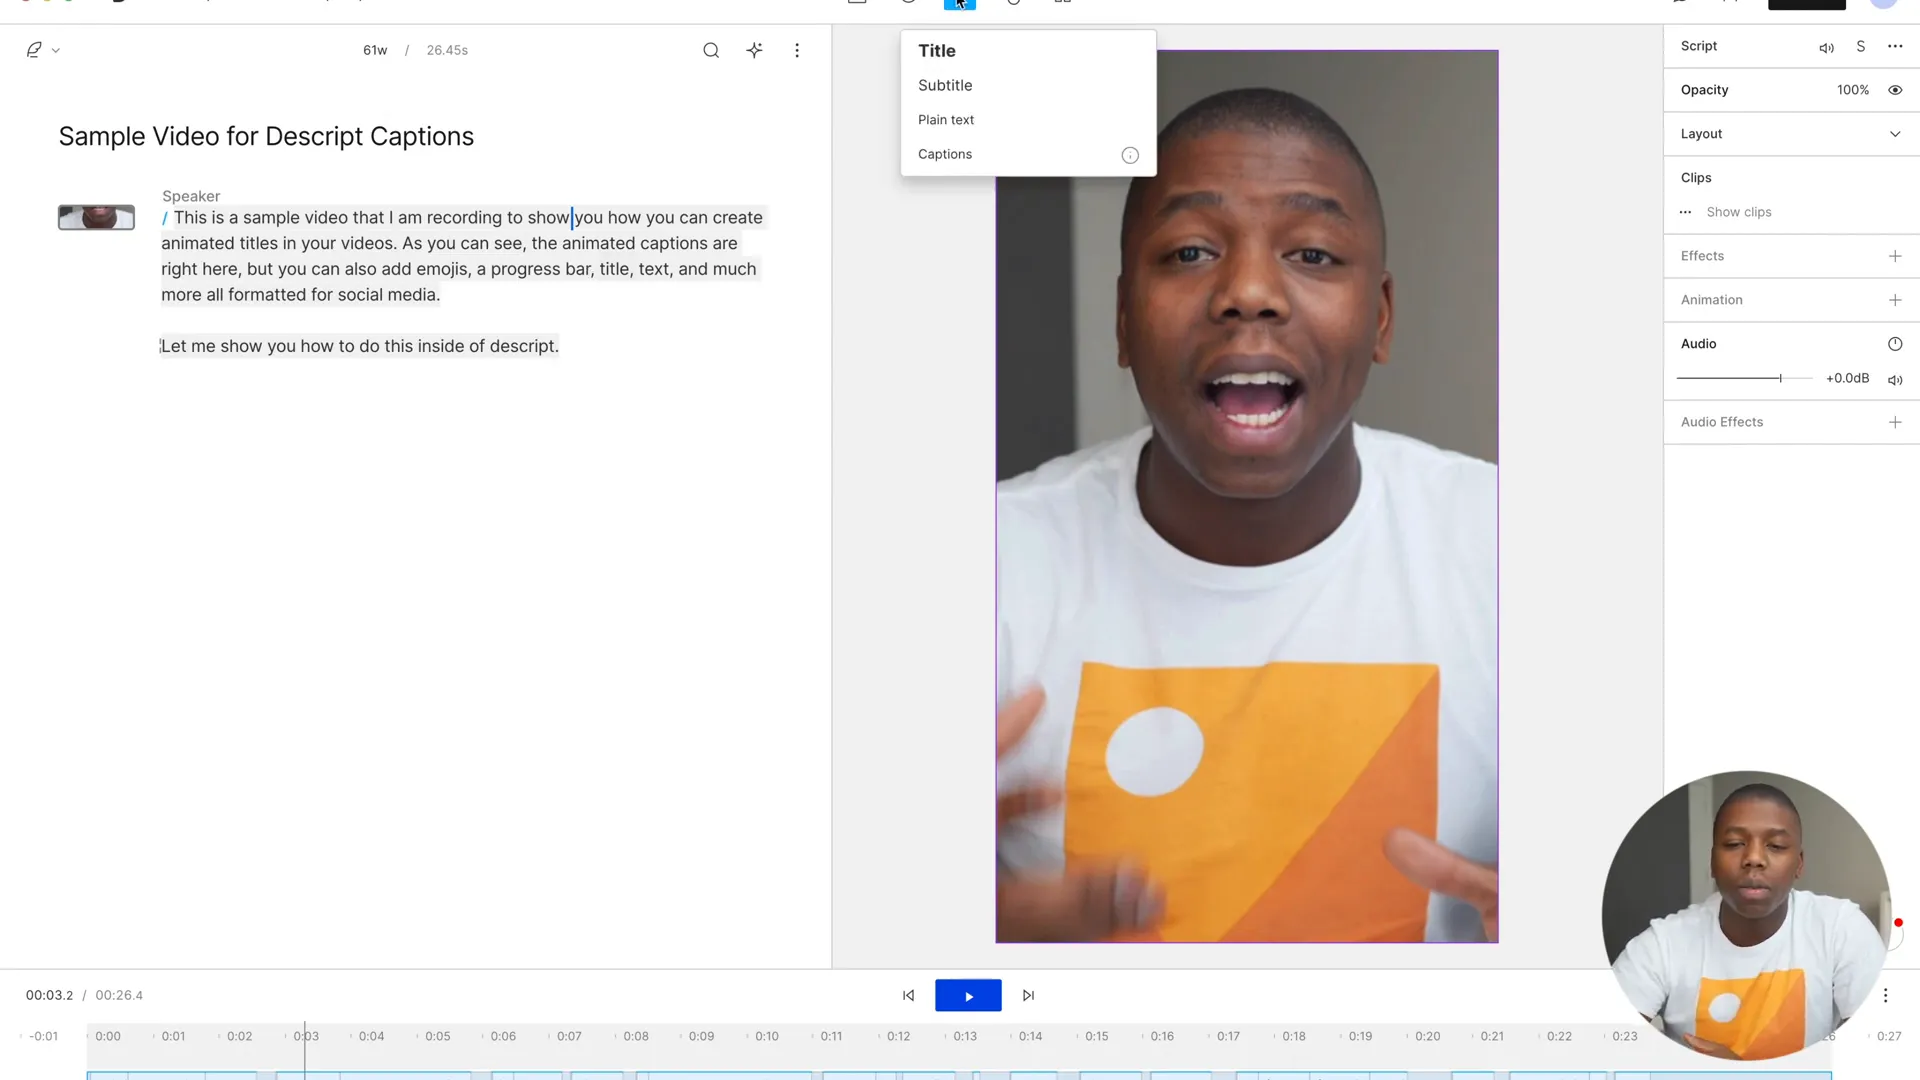
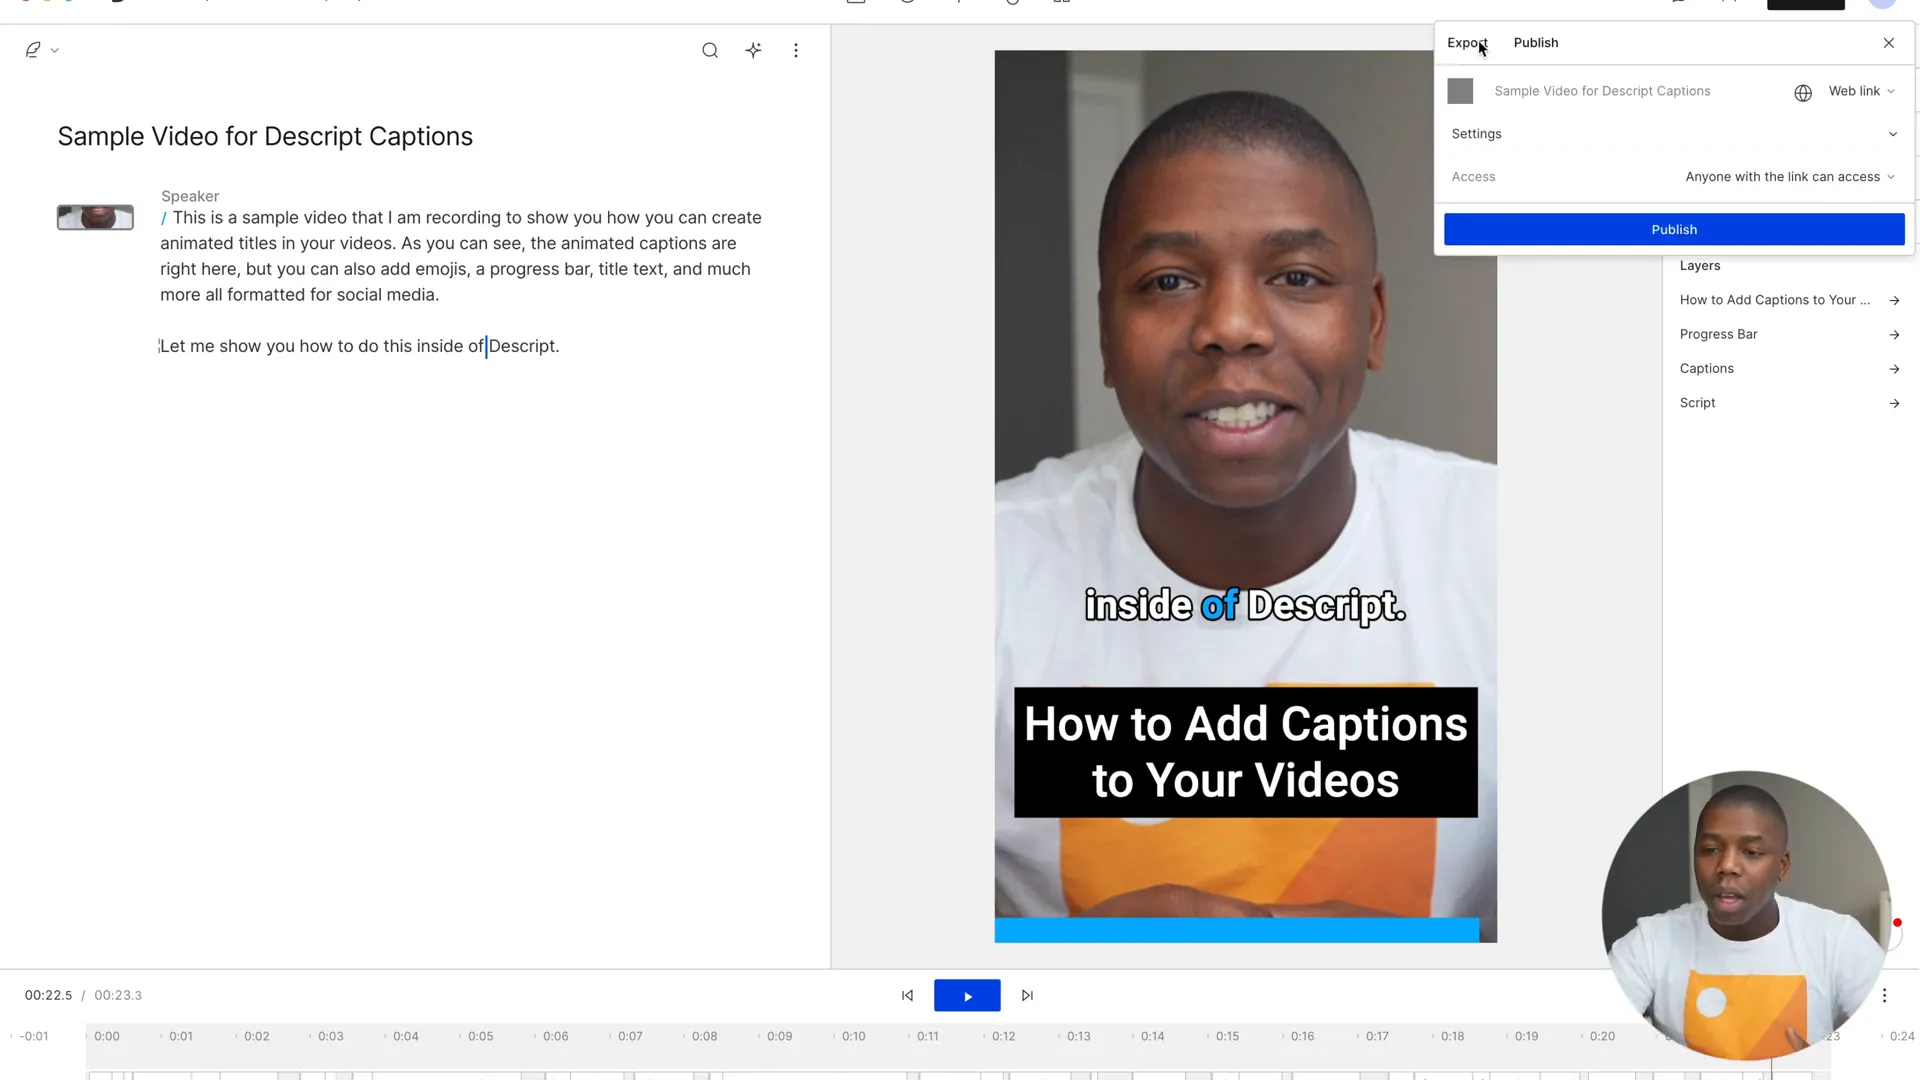
Now you can finally add captions. Highlight the areas of the transcript where you want each caption to appear and go back to the ‘Title’ tab so you can go to ‘Captions’. Your captions should instantaneously appear on the screen, and you can centre them for clarity.
Descript has many caption styles. One of our favourites is the karaoke style, which makes the active word flash as it’s said which makes your audience’s viewing experience more engaging.
Customizing Captions
You can also add your own style to make your captions feel like yours: change the font colour, the font, the border width, the style and more on the right sidebar in Descript. Perhaps you want your text to have a white background with a white border so it’s easy to see against your video.

Incorporating a Progress Bar
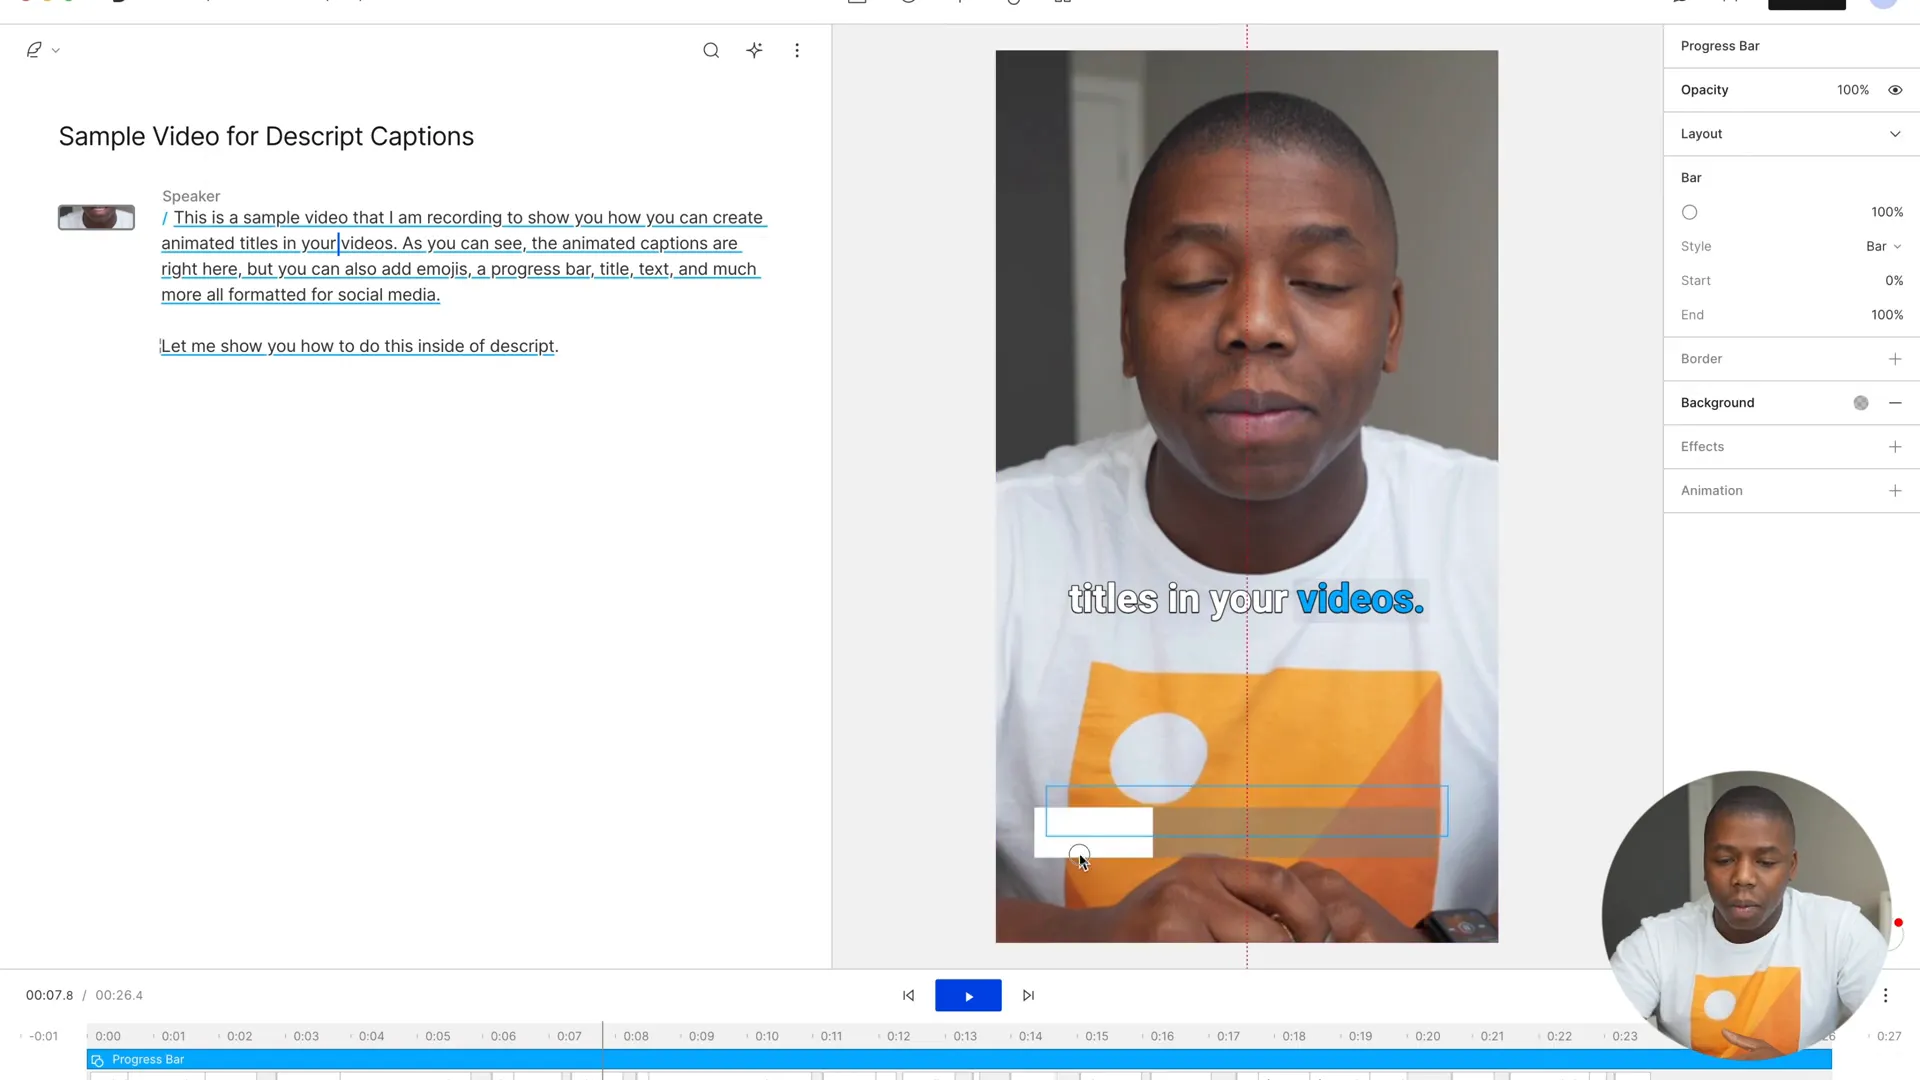
Next, add a touch of interactivity, in the form of a progress bar – helpful for the viewer to know where he or she is in the time scale of the video, and incredibly professional-looking, too. Now, all you have to do is drag and drop the progress bar in place, and select a colour for its background that matches your captions.
Adding Emojis to Captions
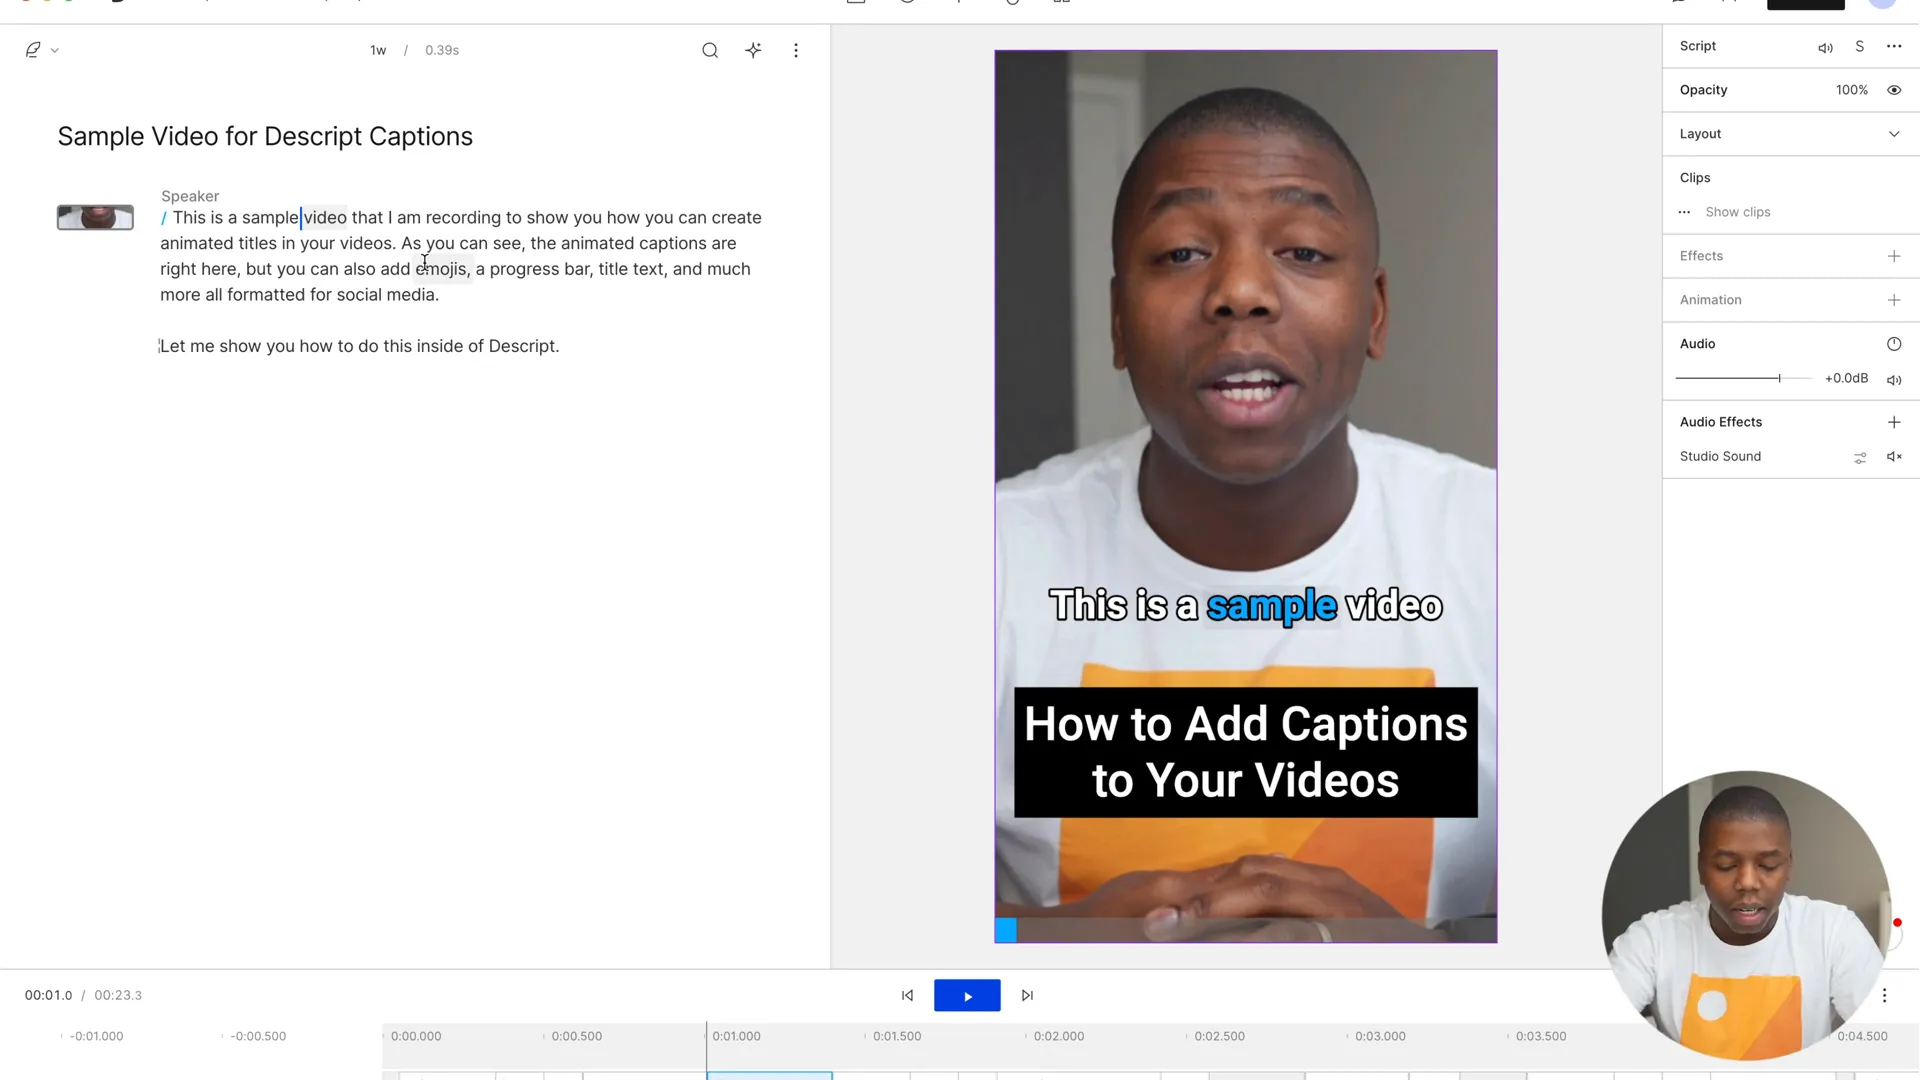
Add some emojis that relate to your captions to make it more about you, as if you were chatting with a friend. To do this go to your caption on Final Cut, select the emoji key you wish to use on your Mac, hit Control + Command + Spacebar to bring up the emoji keyboard, and choose which emoji to include within your captions. This is another simple but very important step to make it seem as if you made this video for yourself. Hope these steps made the video look way better!
Exporting Your Video
When you have finished editing and adding cool animated titles and captions, it’s ready to export. From the ‘Publish’ tab you’ll have lots of options: export as a video, audio file, GIF or a project as a timeline that you can import into Final Cut Pro (or open it with Adobe Premiere or Media Composer). For this tutorial, export as 4K video, for social media: so it can be viewed in full quality.
Conclusion
Give your videos some extra pizzazz and an bumped-up production value with animated titles and captions — all of which you can easily achieve with Descript! From transcription-based editing to visual enhancements such as captions and progress bars, Descript allows you to create professional-grade content with ease. Check out our other videos for more ideas and features! 😅